
Send data from Cribl to Axiom
You can send logs from Cribl LogStream to Axiom using HTTP or Syslog destination.
Prerequisites#
- Create an Axiom account.
- Create a dataset in Axiom where you send your data.
- Create an API token in Axiom with permissions to ingest data to the dataset you have created.
Set up log forwarding from Cribl to Axiom using the HTTP destination#
Below are the steps to set up and send logs from Cribl to Axiom using the HTTP destination:
- Create a new HTTP destination in Cribl LogStream:
Open Cribl’s UI and navigate to Destinations > HTTP. Click on + Add New to create a new destination.
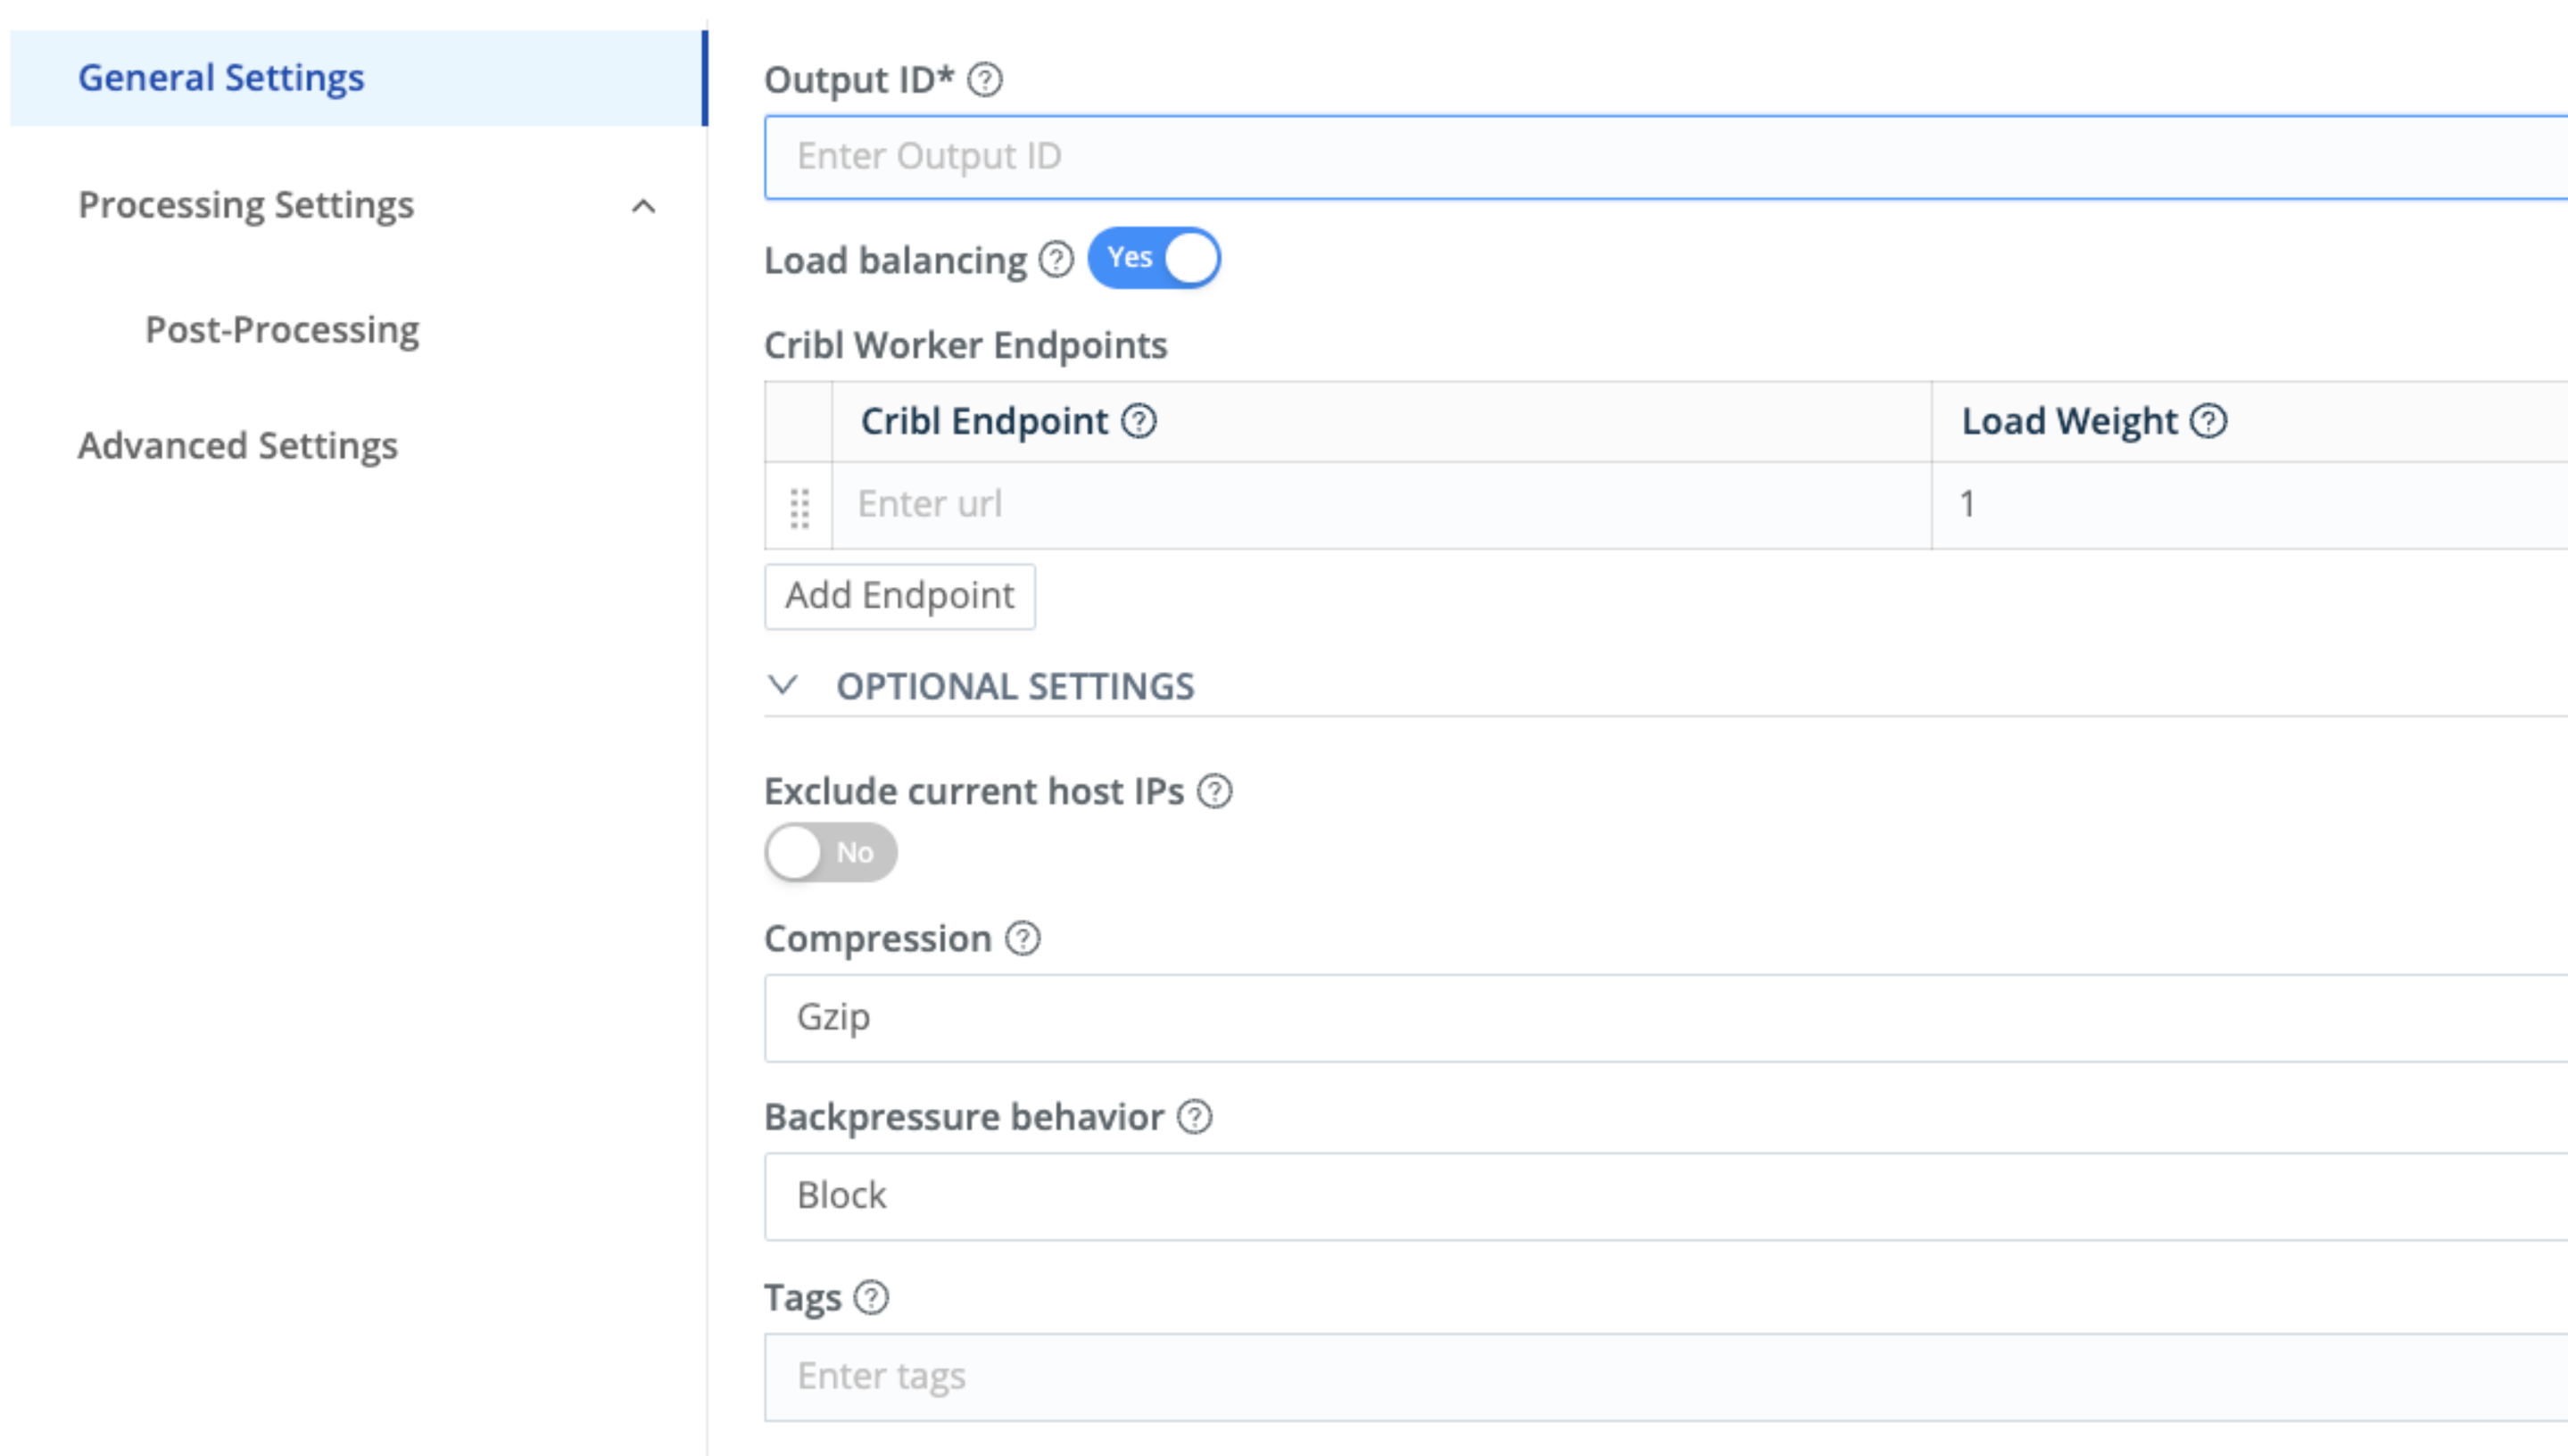
Cribl LogStream
- Configure the destination:
-
Name: Choose a name for the destination.
-
Endpoint URL: The URL of your Axiom log ingest endpoint
https://AXIOM_DOMAIN/v1/ingest/DATASET_NAME.
Replace AXIOM_DOMAIN with the base domain of your edge deployment. For more information, see Edge deployments.
Replace DATASET_NAME with the name of the Axiom dataset where you send your data.
-
Method: Choose
POST. -
Event Breaker: Set this to One Event Per Request or CRLF (Carriage Return Line Feed), depending on how you want to separate events.
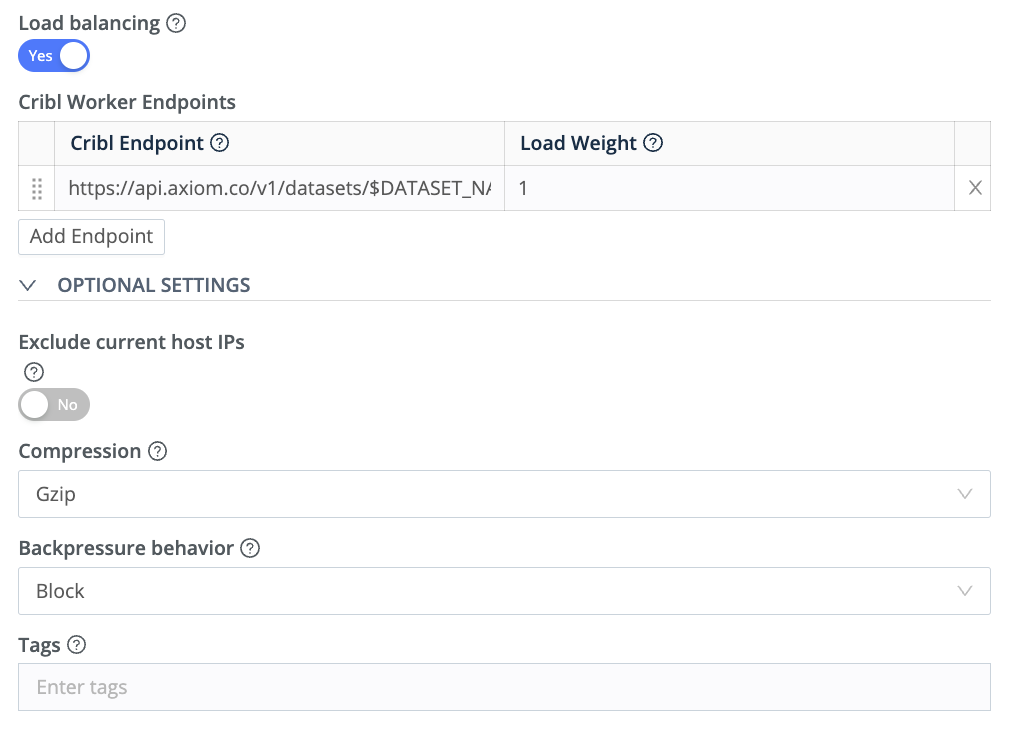
Cribl LogStream destination
- Headers:
You may need to add some headers. Here is a common example:
-
Content-Type: Set this to
application/json. -
Authorization: Set this to
Bearer API_TOKEN.
Replace API_TOKEN with the Axiom API token you have generated. For added security, store the API token in an environment variable.
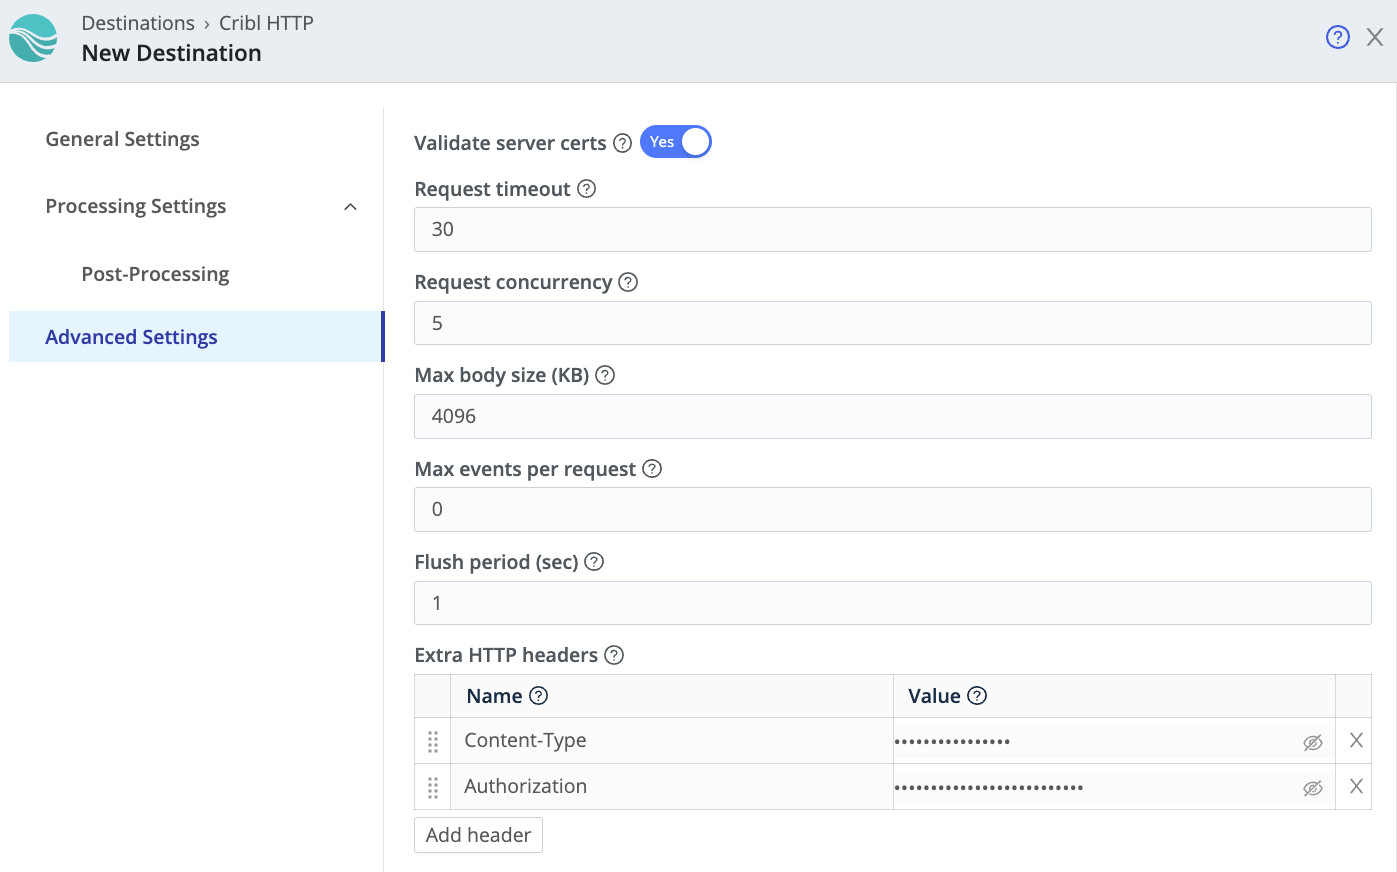
Cribl LogStream destination headers
- Body:
In the Body Template, input {{_raw}}. This forwards the raw log event to Axiom.
- Save and enable the destination:
After you’ve finished configuring the destination, save your changes and make sure the destination is enabled.
Set up log forwarding from Cribl to Axiom using the Syslog destination#
Create Syslog endpoint#
- Click Settings > Endpoints.
- Click New endpoint.
- Click Syslog.
- Name the endpoint.
- Select the dataset where you want to send data.
- Copy the URL displayed for the newly created endpoint. This is the target URL where you send the data.
Configure destination in Cribl#
- Create a new Syslog destination in Cribl LogStream:
Open Cribl’s UI and navigate to Destinations > Syslog. Click on + Add New to create a new destination.
- Configure the destination:
-
Name: Choose a name and output ID for the destination.
-
Protocol: Choose the protocol for the Syslog messages. Select the TCP protocol.
-
Destination Address: Input the address of the Axiom endpoint to which you want to send logs. This address is generated from your Syslog endpoint in Axiom and follows this format:
tcp+tls://qsfgsfhjsfkbx9.syslog.axiom.co:6514. -
Destination Port: Enter the port number on which the Axiom endpoint is listening for Syslog messages which is
6514 -
Format: Choose the Syslog message format.
RFC3164is a common format and is generally recommended. -
Facility: Choose the facility code to use in the Syslog messages. The facility code represents the type of process that’s generating the Syslog messages.
-
Severity: Choose the severity level to use in the Syslog messages. The severity level represents the importance of the Syslog messages.
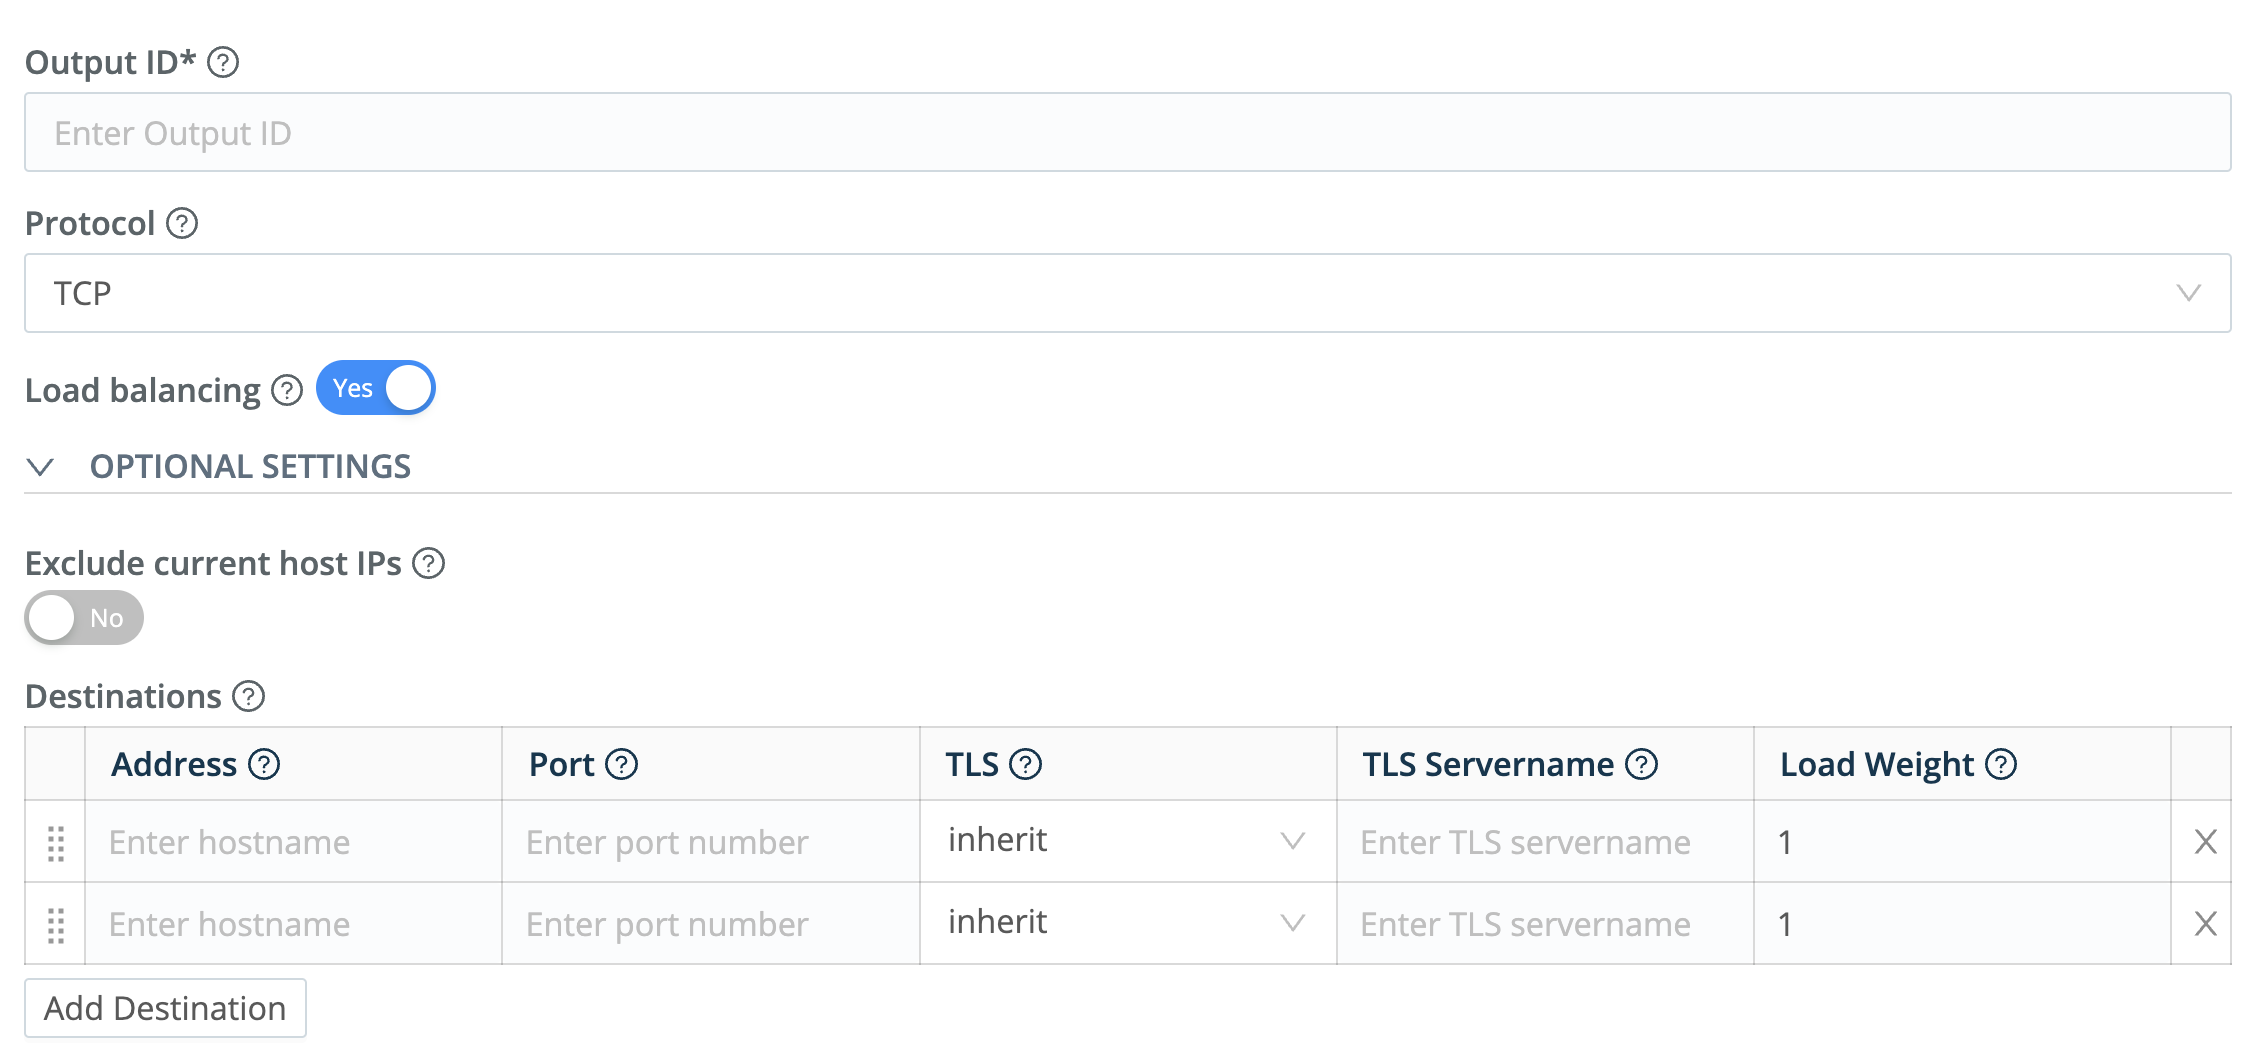
Cribl LogStream destination configuration
- Configure the Message:
-
Timestamp Format: Choose the timestamp format to use in the Syslog messages.
-
Application Name Field: Enter the name of the field to use as the app name in the Syslog messages.
-
Message Field: Enter the name of the field to use as the message in the Syslog messages. Typically, this would be
_raw. -
Throttling: Enter the throttling value. Throttling is a mechanism to control the data flow rate from the source (Cribl) to the destination (in this case, an Axiom Syslog Endpoint).
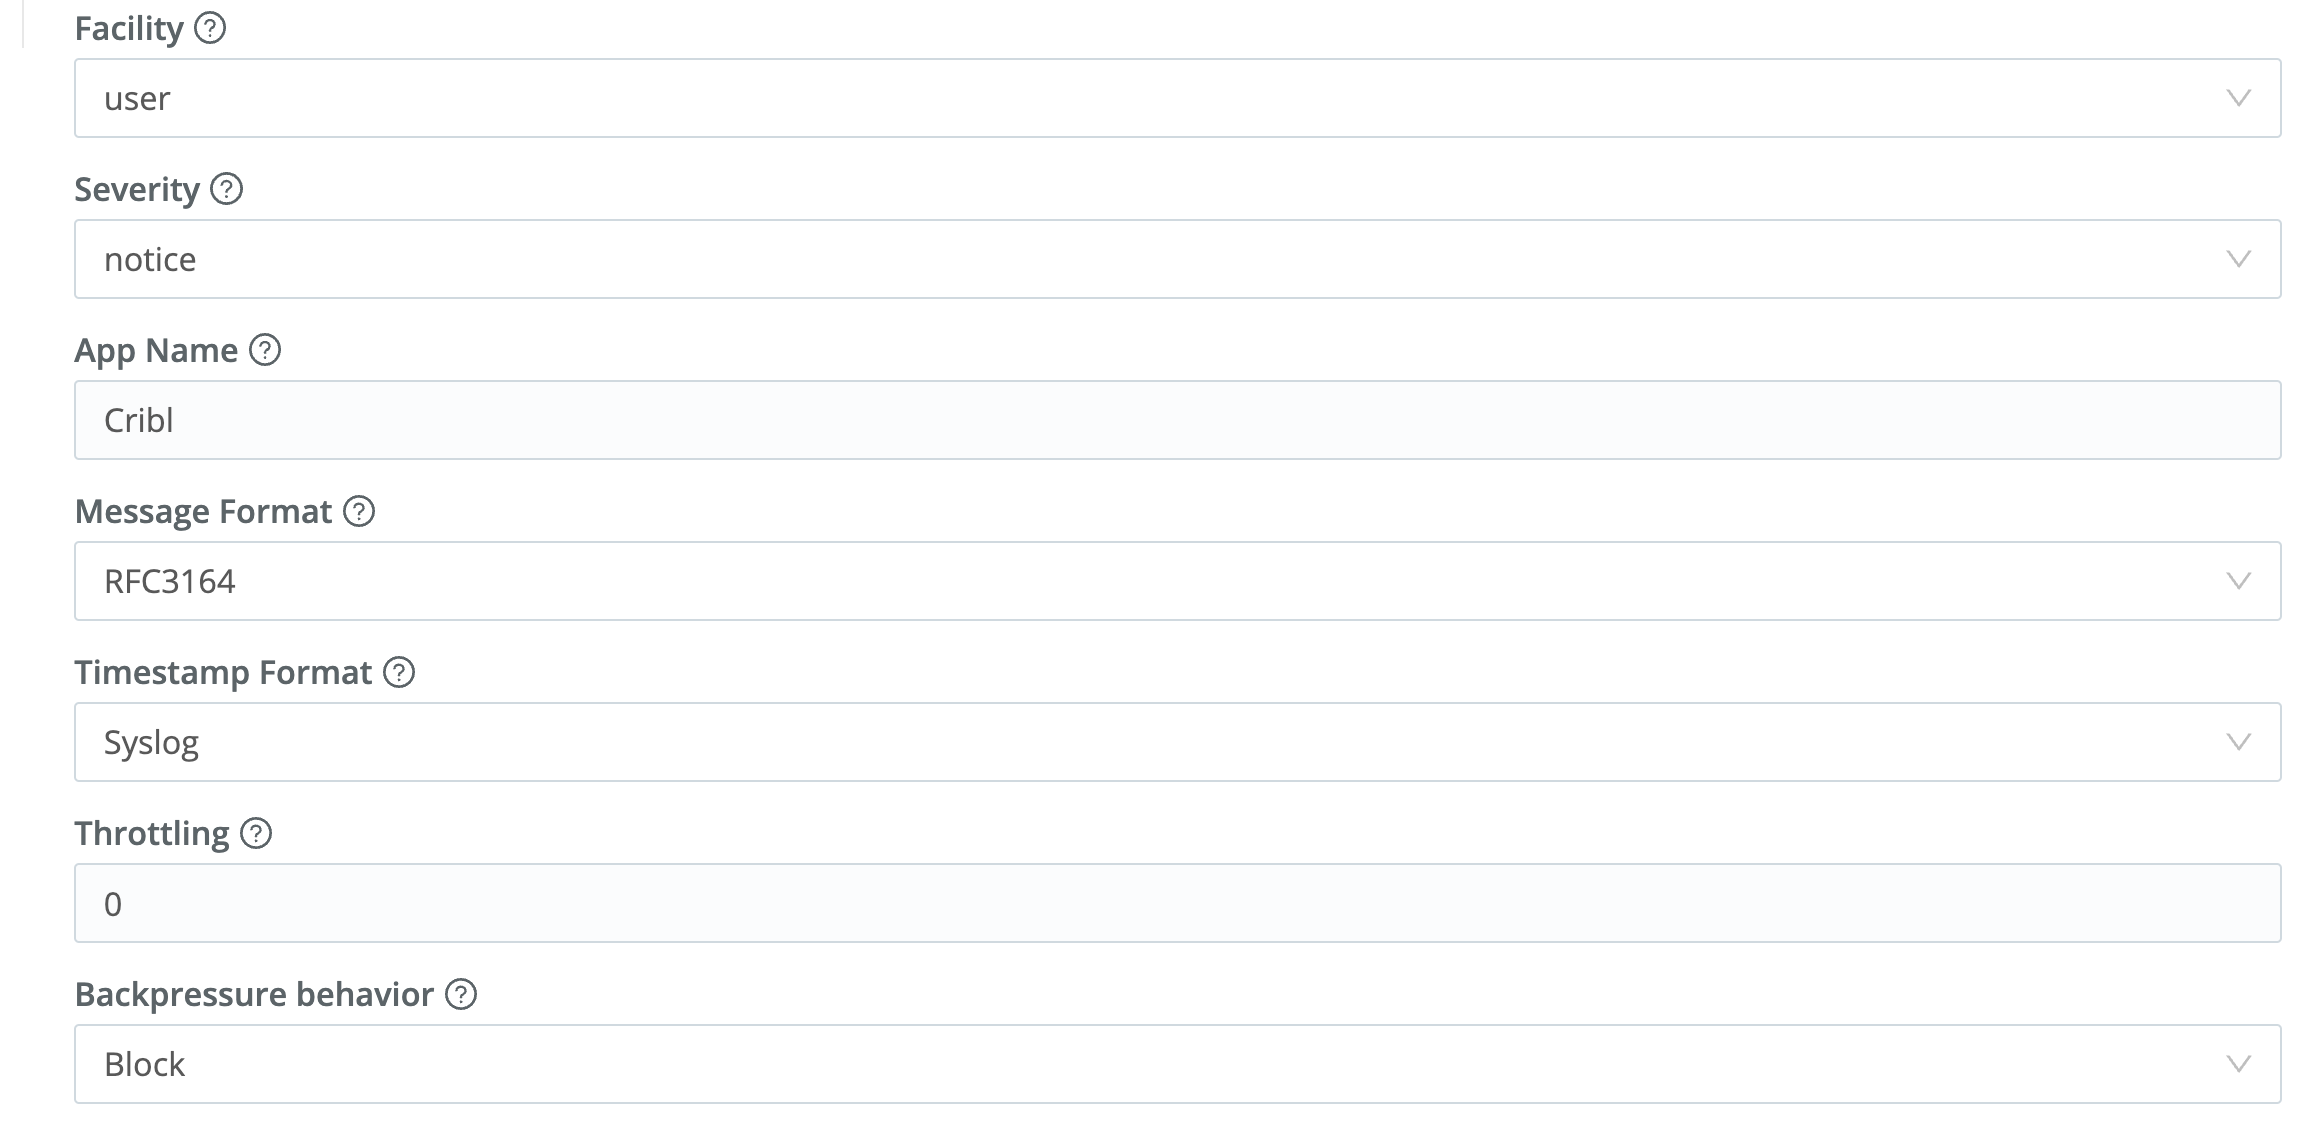
Configure the Syslog message
- Save and enable the destination
After you’ve finished configuring the destination, save your changes and make sure the destination is enabled.